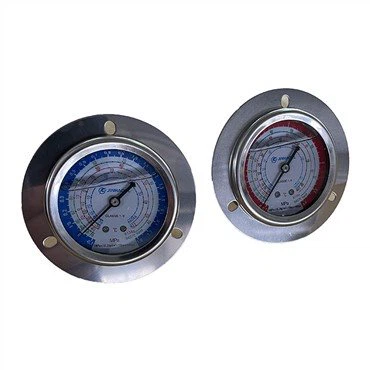
A liquid receiver is a crucial component in refrigeration and air - conditioning systems. It serves as a storage tank for the liquid refrigerant, ensuring a continuous and stable supply of refrigerant to the expansion valve. Over time, however, a liquid receiver can accumulate contaminants such as dirt, debris, and moisture, which can affect the system's performance and efficiency. As a liquid receiver supplier, I understand the importance of proper maintenance and cleaning of these components. In this blog post, I'll share a comprehensive guide on how to clean a liquid receiver.
Step 1: Safety First
Before you start the cleaning process, safety should be your top priority. Liquid receivers are part of a refrigeration system that contains pressurized refrigerant. Any mishandling can lead to serious safety hazards, including refrigerant leaks and pressure - related accidents.
- Personal Protective Equipment (PPE): Wear appropriate PPE, such as safety glasses, gloves, and a face shield. This will protect you from potential refrigerant exposure and any debris that may be released during the cleaning process.
- System Shutdown: Turn off the refrigeration system and allow it to cool down completely. This will prevent any hot components from causing burns and reduce the pressure in the system.
- Refrigerant Recovery: Use a proper refrigerant recovery machine to remove the refrigerant from the liquid receiver. Make sure to follow all local and national regulations regarding refrigerant handling and disposal. Improper refrigerant handling can harm the environment and may result in legal consequences.
Step 2: Disconnect the Liquid Receiver
Once the refrigerant has been safely removed, it's time to disconnect the liquid receiver from the refrigeration system.
- Isolate the Receiver: Close all the valves connected to the liquid receiver to isolate it from the rest of the system. This will prevent any refrigerant or other fluids from entering or leaving the receiver during the cleaning process.
- Remove the Piping: Use appropriate tools, such as wrenches, to carefully remove the piping connected to the liquid receiver. Keep track of all the fittings and gaskets, as they will need to be reinstalled later. Make sure to label the pipes to ensure correct re - installation.
- Drain the Residual Liquid: Even after refrigerant recovery, there may be some residual liquid in the receiver. Place a suitable container beneath the receiver and open the drain valve to drain any remaining liquid.
Step 3: Inspect the Liquid Receiver
Before cleaning, it's important to inspect the liquid receiver for any signs of damage or wear.
- External Inspection: Check the exterior of the liquid receiver for dents, cracks, or corrosion. These issues can compromise the integrity of the receiver and may require repair or replacement.
- Internal Inspection: Use a flashlight to inspect the interior of the receiver. Look for any signs of dirt, debris, or sludge. Pay special attention to the bottom of the receiver, as this is where contaminants tend to accumulate. If you notice any significant damage or excessive contamination, it may be necessary to consult a professional for further assessment.
Step 4: Cleaning the Liquid Receiver
There are several methods to clean a liquid receiver, depending on the level of contamination.
- Flushing with Refrigerant - Compatible Solvent: For light contamination, you can use a refrigerant - compatible solvent to flush the receiver. Pour the solvent into the receiver and use a brush or a long - handled tool to agitate the solvent and dislodge any dirt or debris. Then, drain the solvent and repeat the process until the solvent comes out clean.
- Mechanical Cleaning: For more stubborn contaminants, mechanical cleaning methods may be required. You can use a high - pressure water jet or a steam cleaner to clean the interior of the receiver. Make sure to use the appropriate pressure settings to avoid damaging the receiver. After cleaning, thoroughly dry the receiver to prevent corrosion.
- Filtering: If there are small particles or debris in the receiver, you can use a filter to remove them. Connect a Shell Type Refrigerant Filter Drier to the receiver and circulate the refrigerant or cleaning solvent through the filter. This will trap the contaminants and ensure a cleaner receiver.
Step 5: Drying the Liquid Receiver
After cleaning, it's crucial to dry the liquid receiver completely to prevent moisture from causing corrosion or other problems in the refrigeration system.
- Air Drying: Allow the receiver to air dry naturally for several hours. You can also use a fan to speed up the drying process. Make sure the receiver is placed in a well - ventilated area.
- Heat Drying: For a more thorough drying, you can use a heat source to warm the receiver. However, be careful not to overheat the receiver, as this can damage the material. A gentle heat, such as that from a heat gun set on a low setting, can be used to evaporate any remaining moisture.
Step 6: Reinstall the Liquid Receiver
Once the liquid receiver is clean and dry, it's time to reinstall it in the refrigeration system.
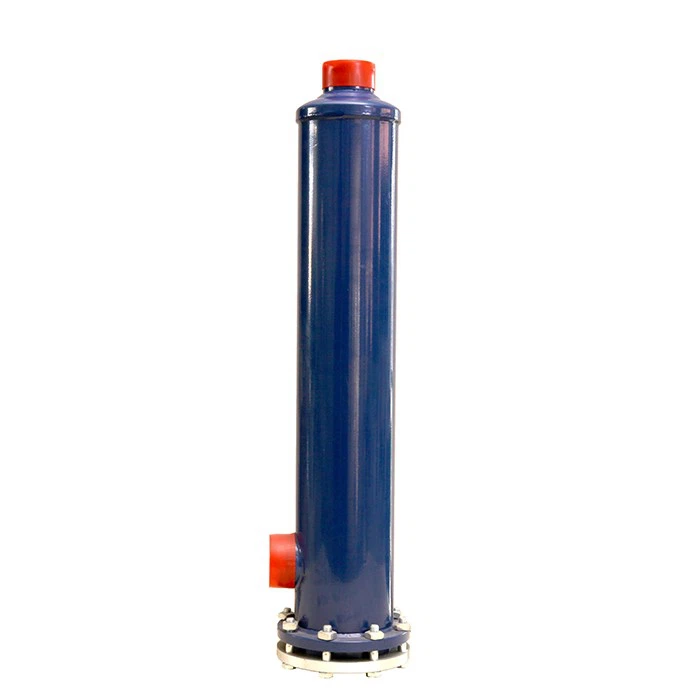

- Reconnect the Piping: Use new gaskets and fittings to reconnect the piping to the liquid receiver. Make sure all the connections are tight and leak - free. Follow the correct installation procedure and torque specifications for the fittings.
- Vacuum the System: Before recharging the system with refrigerant, use a vacuum pump to evacuate the air and moisture from the system. This will ensure optimal performance and prevent any issues caused by air or moisture in the system.
- Recharge the Refrigerant: Once the system has been vacuumed, recharge it with the appropriate amount of refrigerant. Refer to the system's specifications to determine the correct refrigerant charge.
Step 7: Testing the System
After reinstalling the liquid receiver and recharging the refrigerant, it's important to test the refrigeration system to ensure it's working properly.
- Visual Inspection: Check for any signs of leaks around the liquid receiver and other components. Look for refrigerant stains or any hissing sounds, which may indicate a leak.
- Performance Testing: Monitor the system's performance, including temperature, pressure, and cooling capacity. Compare the readings with the system's specifications to ensure everything is within the normal range. If you notice any abnormal readings, it may be necessary to troubleshoot the system further.
Regular cleaning and maintenance of liquid receivers are essential for the efficient and reliable operation of refrigeration and air - conditioning systems. By following these steps, you can ensure that your liquid receiver is clean and functioning properly. As a liquid receiver supplier, we offer a wide range of high - quality Refrigerant Receiver products, as well as Suction Line Accumulator and other related components. If you have any questions about cleaning or purchasing liquid receivers, feel free to contact us for more information and to discuss your specific requirements.
References
- ASHRAE Handbook - Refrigeration. American Society of Heating, Refrigerating and Air - Conditioning Engineers.
- Refrigeration System Maintenance Guide. Various industry publications.